
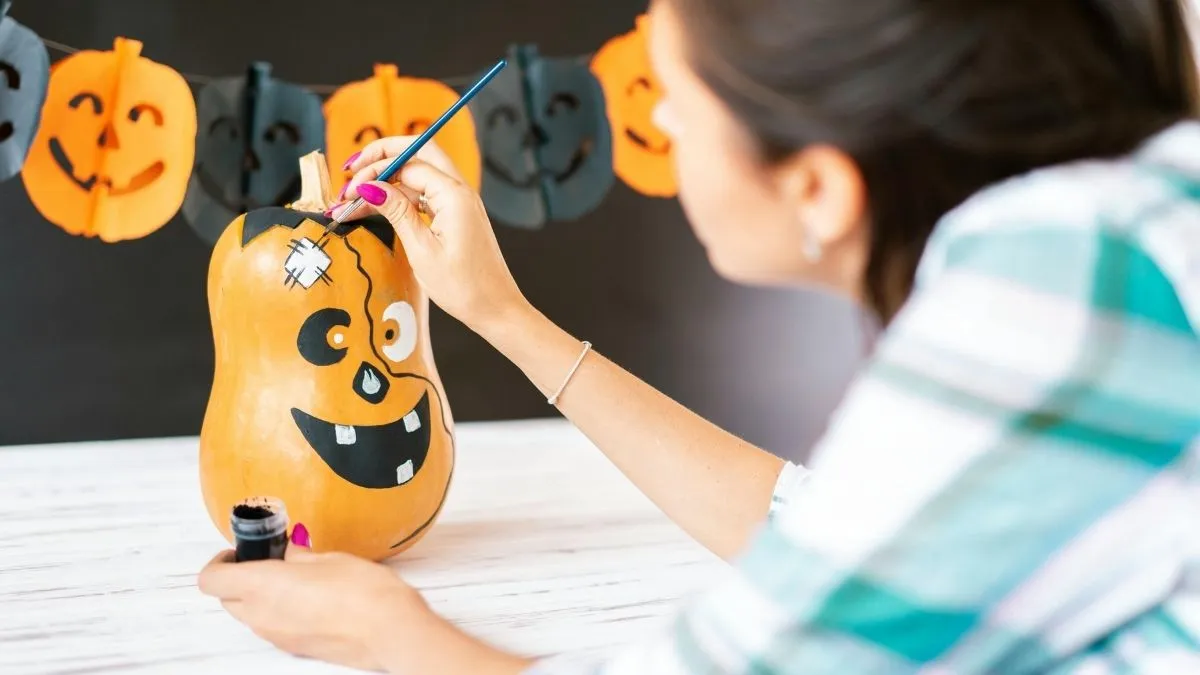

Want to decorate your house on Halloween without breaking the bank? Yes? Discover some of the best DIY Dollar Tree Halloween decor ideas that look expensive.
My Halloween decorating budget most years is whatever’s left over after I’ve already blown my paycheck on candy I “had to test.” So I’ve gotten pretty good at making a cart full of dollar store finds look like something out of a Pottery Barn catalog.
It’s mostly paint, patience, and knowing which cheap plastic pieces are worth the glue gun and which ones are better left in the bin.
Below are twelve projects I’ve actually made (or watched a friend make while I “supervised” with a hot cocoa in hand). None of them need special tools, none of them take a weekend, and every single supply list starts and ends at Dollar Tree.
Why Dollar Tree Halloween Decor Actually Works
People assume dollar store decorations look cheap because they’re cheap. But most of that stuff is really just a blank canvas — bright orange plastic, shiny black finishes, thin cardboard.
The second you knock down the shine with matte spray paint or add a texture like moss, twine, or weathered wood, it stops reading as “dollar store” and starts reading as “vintage find.” Cheap materials, expensive-looking finish. That’s really the whole trick.
1. Weathered Pumpkin Trio
Grab three foam pumpkins in different sizes and skip the orange entirely. Paint them in a muted palette — charcoal, warm cream, and dusty sage all work — then dry-brush a little darker paint into the ridges to fake age and shadow.
Grouped on a porch step or entry table, they look far closer to a farmhouse boutique display than something that came three-for-a-dollar.
You’ll need: foam pumpkins, matte acrylic paint, a dry paintbrush, optional twine for the stems.
2. Frosted “Poison” Bottle Collection
Small glass or plastic bottles get a quick coat of frosted glass spray, plus a hand-lettered label (or a printed one from a free template) reading things like “Nightshade” or “Wolfsbane.”
Fill a couple with tinted water for color variation. Cluster them on a tray with a taper candle, and you’ve got an apothecary shelf that looks pulled straight from a haunted pharmacy.
You’ll need: small bottles, frosted glass spray paint, printable or hand-drawn labels, food coloring + water, twine or raffia.
3. Ceiling Ghosts on Fishing Line
This one gets the most “wait, you made that?” reactions. Cut simple ghost shapes from cheesecloth, gauze, or even white plastic tablecloths, stiffen the tops slightly with a bit of glue or starch, and hang them from the ceiling at different heights with clear fishing line.
A small battery tea light tucked just inside gives them a soft glow after dark. Cluster a few over a dining table or entryway for real drama.
You’ll need: white fabric or cheesecloth, fishing line, ceiling hooks, battery tea lights.
4. Painted Black Vase + Dried Branch Centerpiece
Take a plain glass or plastic vase, matte-black spray paint the outside, and fill it with black-painted branches (real ones from your yard work great and cost nothing). Add a plastic crow or raven perched on top and a scatter of faux spiders climbing the branches. It’s moody, it’s tall, and it fills a corner without needing ten small pieces.
You’ll need: vase, black spray paint, dried branches, decorative bird, faux spiders.
5. Tiered Tray Halloween Vignette
If you already own a tiered serving tray, this is nearly free. Pick one color story — I like black, cream, and a single pop of orange — and layer mini pumpkins, tiny apothecary bottles, a miniature sign, and a couple of battery candles across the tiers. The trick is restraint: pick fewer, better pieces rather than covering every inch.
You’ll need: tiered tray, mini pumpkins, small candles, one or two accent pieces in your chosen colors.
6. Cheesecloth Spiderweb Wreath
Wrap a wire wreath form with black yarn or ribbon as a base, then stretch a layer of stretchy spiderweb material across the front.
Add plastic spiders in a few sizes, not just one — that’s what makes it look intentional instead of like a bag dumped on a door. A single black bow at the bottom finishes it off.
You’ll need: wire wreath form, black yarn, stretch spiderweb, assorted plastic spiders, ribbon.
7. Mason Jar Ghost Lanterns
Paint a thin, uneven layer of white or frosted glass paint onto small jars, leaving a bit of translucency so light can shine through. Once dry, use a black paint pen to draw simple ghost faces — some surprised, some sleepy, some smug. Drop in a battery candle and line a windowsill or porch step with them.
You’ll need: small jars, white glass paint, black paint pen, battery tea lights.
8. Distressed Wood Halloween Sign
Sand a plain wooden sign lightly, especially along the edges, then paint your background color and let it dry before adding a stenciled phrase — something short reads best, like “Enter If You Dare” or just “Boo.” Go back over the dry edges with a bit of sandpaper to reveal the wood underneath for a worn, secondhand-shop look.
You’ll need: wooden sign, sandpaper, acrylic paint, stencil, small brush.
9. Candy Corn Topiary Cone
Wrap a foam cone in rows of glued-on candy corn (the fake decorative kind, not the eating kind — save that for yourself). Set it into a small painted pot and finish with a strip of ribbon around the base. It’s cheerful rather than spooky, which makes it a nice counterbalance if the rest of your decor leans dark.
You’ll need: foam cone, decorative candy corn pieces, hot glue, small pot, ribbon.
10. Haunted Mirror Accent
An inexpensive picture frame becomes a “haunted mirror” with reflective mirror-effect paper cut to size and a distressed paint job on the frame itself — think layered black and silver, sanded back in spots. Add a few plastic spiders or dried moss at the corners and hang it somewhere candlelight can catch the reflection.
You’ll need: picture frame, mirror-effect paper or cardstock, black and silver paint, moss or spiders for accent.
11. Skeleton Hand Candle Holders
Small plastic skeleton hands, spray-painted matte black or left bone-white, can be glued upright into a small painted pot or block of floral foam so they appear to be “reaching” out of the ground or a tabletop. Slide battery candles between the fingers for an eerie glow that photographs beautifully for Instagram.
You’ll need: plastic skeleton hands, spray paint (optional), small pot or foam base, battery candles.
12. Trick-or-Treat Candy Station
Turn practical candy storage into part of your decor. Paint a few glass jars or line up trays in coordinating colors, label them with chalkboard tags, and tuck in some mini pumpkins and a battery candle or two. Guests get an easy grab-and-go setup, and you get one more decorated surface without buying a single extra item.
You’ll need: jars or trays, chalkboard labels, ribbon, candy, mini pumpkins for filler.
A Few Things That Make Dollar Store Decor Look Less “Dollar Store”
- Matte over glossy, almost always. Shiny plastic reads cheap under any lighting. A flat or matte spray paint instantly ages a piece.
- Pick a palette and stick to it. Three or four colors max. Every extra color you add makes things look more scattered, not more festive.
- Leave some breathing room. The instinct is to cram every surface full. Space actually makes the pieces you do have look more deliberate.
- Mix in one real material. A real branch, real moss, or a real wood sign next to your dollar store pieces makes the whole grouping feel more grounded.
- Group in odd numbers. Three pumpkins look more natural than two. Five bottles look more natural than four. It’s a small thing, but it works.
Frequently Asked Questions
Is Dollar Tree Halloween decor actually good quality?
It varies piece to piece, but the plastic and foam items (pumpkins, cones, frames) tend to hold up well, especially once painted. Paper and thin cardboard items are best kept indoors or somewhere protected from weather.
What’s the best glue for these projects?
A hot glue gun handles almost everything on this list. For glass, a glass-specific adhesive or E6000 will hold up better long-term than hot glue alone.
Can I leave these decorations outside?
Anything painted or made of foam can usually handle a covered porch, but heavy rain and direct sun will wear things down fast. Bring paper, cardboard, and unsealed pieces in during bad weather.
Which project is easiest for a first-timer?
The mason jar ghosts and the tiered tray vignette are the lowest-effort, highest-payoff projects on this list — minimal cutting, minimal drying time, hard to mess up.
Can I reuse these next Halloween?
Yes, and you should. Store painted pieces wrapped in tissue or bubble wrap so the finish doesn’t chip, and you’ll have a growing collection to add to each year instead of starting from zero.
Final Thoughts
None of this requires a big budget or a crafting background — just a little paint, a glue gun, and a willingness to look past what something costs and imagine what it could become.
Start with one or two projects that fit your space, and let the collection grow year over year. That’s usually how the best Halloween decor happens anyway — a little at a time, not all at once.
You May Be Interested In: